By Alfonse Novelli, president/founder, Novation, Inc.
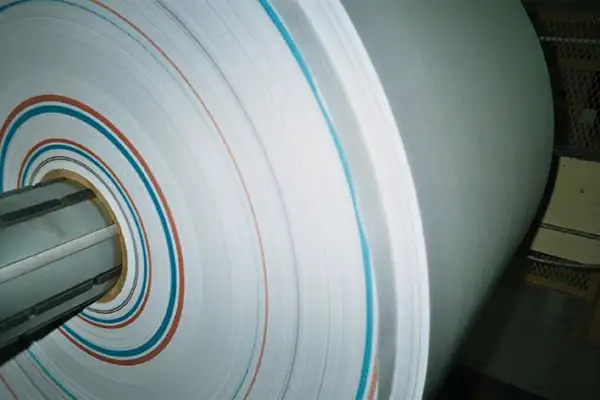
Automatic web-inspection systems are becoming increasingly more popular. Whether it be surface inspection on an extruder, print inspection on a gravure press or a coatweight gauge on a laminator, web-fed processes can be monitored automatically for out-of-spec conditions. Defects sensed then need to be found and culled out on a downstream process. Some systems alarm operators, who then manually mark the web. Others create digital roll maps which create a record of defects and their locations. Manual marking processes are inaccurate and dangerous, and data in digital roll maps cannot always be synchronized with locations in the actual roll. The answer is closing the inspection loop with devices that automatically place a physical mark on the web at areas of interest or as a reference point for a roll map.
Introduction
Let’s face it. Despite your best efforts to eliminate it, scrap happens. And when it does, you always need to knowwhere it happened, so you can find and remove it before it reaches your customer.
Automatic web-inspection systems have become a critical component for printers and converters. Whether it be surface inspection on an extruder, print inspection on a gravure press or a coatweight gauge on a laminator, roll-to-roll (R2R) processes can be monitored automatically for out-of-spec conditions. Most systems even are capable of 100% web inspection at normal production speeds. However, the fact that these inspection devices are capable of detecting issues invisible to the naked eye makes it necessary to either mark the web at those locations immediately or digitally “remember” where in the roll the defects are located.
Manual web-marking methods
Numerous manual methods for defect marking have been adopted over the years. One of the oldest methods is to insert a slip of paper directly into the rewind roll as it is being wound. The attractive part of this method is that no ink or adhesive contacts the web, especially if the material is later deemed acceptable at a subsequent re-inspection. The downside (other than the obvious danger of an operator standing by a high-speed, rotating rewind turret and sticking his or her hands into a rotating roll) is that the slip of paper easily can fall out of the roll, and thus a defect can be passed along unnoticed.
Some companies hand-apply a pressure-sensitive label to the moving web or possibly use a felt pen to physically mark the web. Both these approaches, however, also require operators to have their hands very close to or actually touching the moving web.
There is another important downside of manual marking, and that is it is inherently inaccurate. It requires the operator to react to an incident once it is discovered. Depending upon the operator’s location at the time and the R2R processing speed, by the time the web is marked, that mark might be located hundreds of feet of material past the issue. And the same inaccuracy occurs once the defect has been corrected, at which time the web typically is marked again. These inaccuracies result in wasted time and product when culling out the bad material on the next process.
The manual processes above and their flaws ultimately may be a moot point, though. And that is because, due to countless injuries over the years, many machine builders are outfitting their lines with guards and interlocks, which make it impossible for operators to access the moving web. Even if existing machines are not fitted with guards and interlocks, most companies’ safety protocols don’t allow anyone’s hands close to moving equipment.
Automatic web marking
Automatic web marking eliminates accidents by keeping hands away from the moving product and rotating machine components and allows webs on completely guarded machines to be marked. Additionally, marking systems eliminate inaccuracies caused by the delay between the sensing and subsequent hand-marking. They typically are located toward the end of the process line, downstream of all automatic-inspection devices or manual-inspection locations. Often the inspection systems, which track web motion as part of their function, can delay their output signal to the web marker so that the mark is not activated until the defect actually reaches the marking system. Some markers have a method of “tracking” an issue noticed at an upstream, manual-inspection station, signaled by an operator push-button entry.
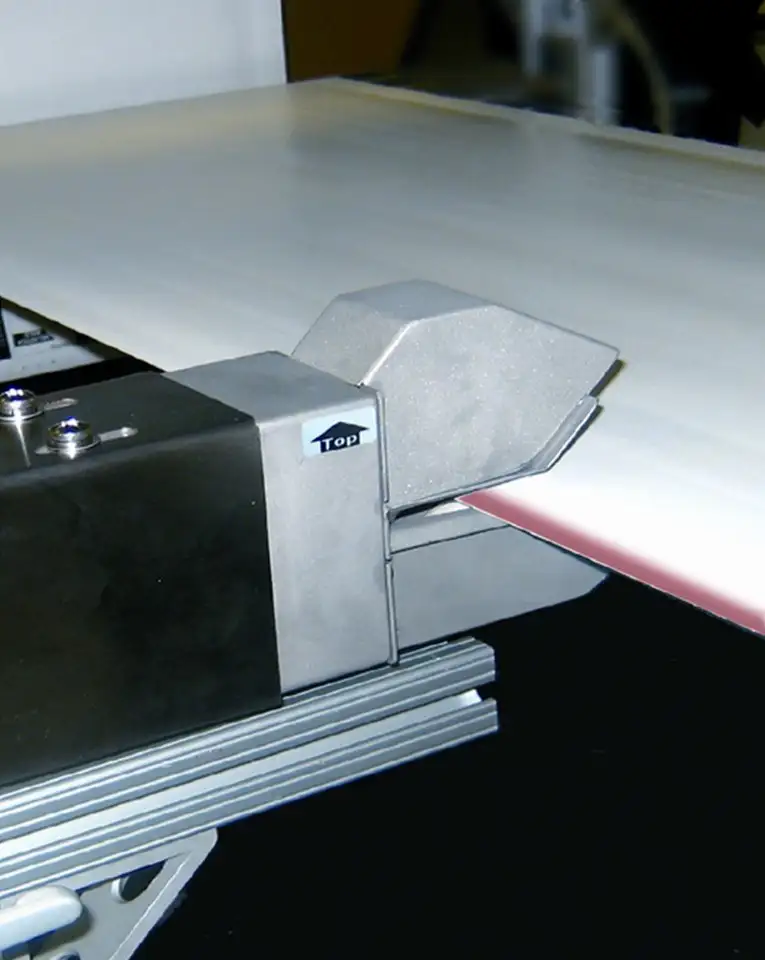
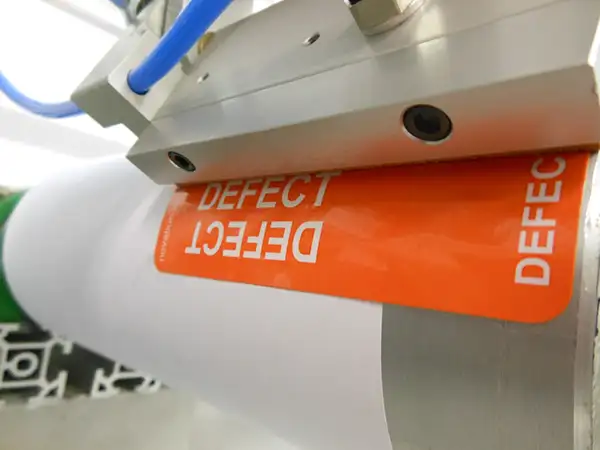
There are two basic methods of automatic web marking in use today: flagging and spray marking. WebFlaggers place a pressure-sensitive label on the moving web (see Figures 1-2). Typically, a portion of the label has no adhesive and that portion hangs off the edge of the web like a “flag,” making it visible in the wound roll. Spray markers spray the edge of the web with inks (see Figures 3-4). They can spray multiple colors to identify different issues. They can place a mark at a particular location or even color the edge of an entire out-of-spec section of a roll.
WebFlaggers have a limit to how quickly subsequent flags can be applied; this means individual issues located close to each other cannot always all be flagged. Spray markers have a faster reaction time and, therefore, don’t have the same limitation. However, the spray-marking systems usually require a bit more maintenance than flagging systems.

Digital roll mapping
Digital “roll maps” often are created by the inspection systems (see Figure 5). They contain all the data on the issues and locations of issues discovered. Some will identify the type of issue, and some attach an image of the issue as well. They are a powerful tool for locating and removing out-of-spec situations. However, there is an important downside to relying upon purely the digital information; that is, if you slab-off damaged material on the outside of the roll or you remove scrap within the roll without any physical marker or reference on the web, you lose the roll map’s only reference location, which is the start of the roll. Automatic web marking provides a solution, however. An identifiable reference marker can be placed on the web periodically. This mark’s information then is added to the roll map, which now provides the ability for the data in the map to always be synchronized with the actual roll.
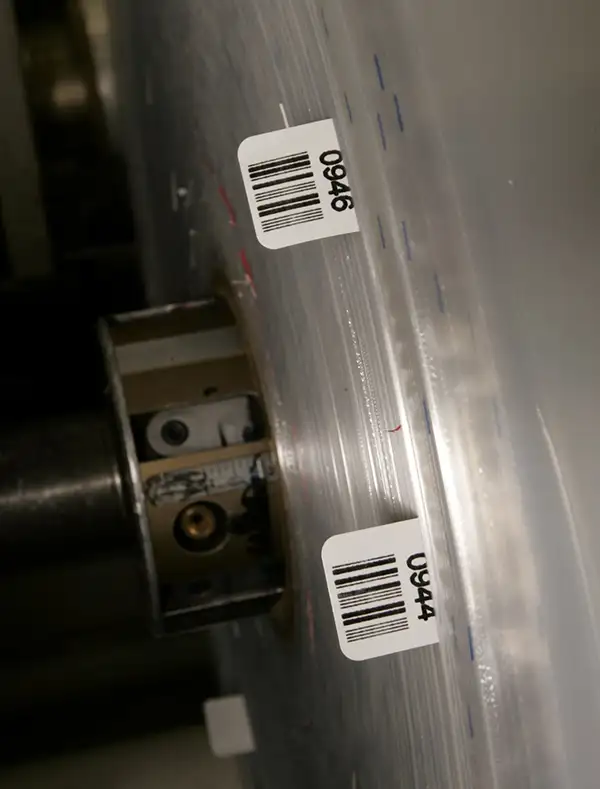
Spray markers can encode a digital value into a series of marks that represent a unique number. WebFlagging devices can apply flags with unique, pre-printed numbers and bar codes. These bar codes are read when applied, and their numbers and locations are combined with the roll-map data.
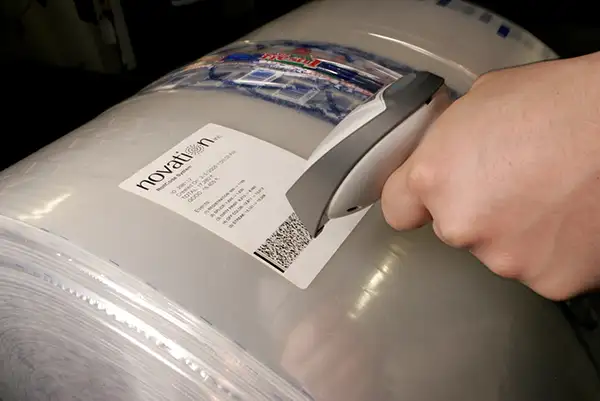
Another powerful feature of automatic web marking is the ability to mark individual lanes in a R2R process. Inspection devices locate defects in the machine direction but also in the cross-machine direction as well. Therefore, a process producing a wide web containing multiple lanes of a print job, for example, can know not only at what length in the roll the issue occurs, but in which lane, too.
Automatic web marking can be crucial to success in this type of situation. Consider a process involving in-line slitting. It does little or no good to inspect the entire web and then mark only the outside lane of a job, which is slit into 15 or 20 individual rolls at the rewind. Web markers can be placed on each lane, allowing the inspection system to trigger a lane-specific mark.
Case study on defect marking
Consider this situation. ISRA Vision is a leading global supplier for surface-inspection systems for continuously processed materials. The company offers surface-quality monitoring systems for glass, metals, films, coated materials, composites, nonwovens and paper products.
ISRA had projects which required lane-specific marking of defects on an extruded web with in-line slitting. Its system was paired with up to 20 automatic WebFlaggers. The web was inspected as a full sheet, and all defects triggered automatic flagging. An automatic-flagging device was located on every lane of material after the slitter. The ISRA system reported the defect and in which lane it was located.
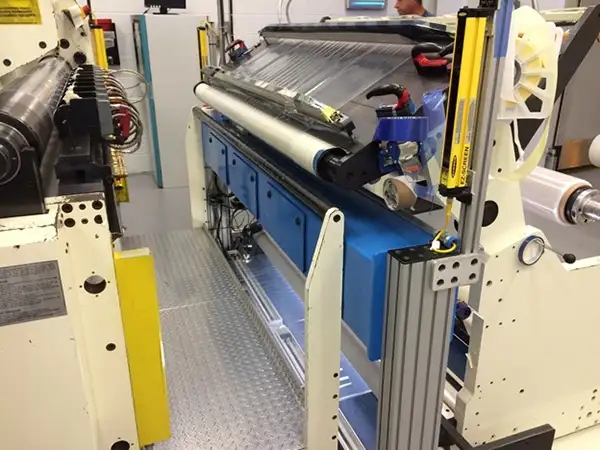
The “flags” in this case were placed completely on the film so they have full-width adhesive coverage as a typical label. The flags had an aluminum-foil lamination. The accuracy was +/-2 in. at 2,000 fpm, so a label was located within 2 in. of each defect. When the film was converted, that process had metal detectors and the ability to reject a converted product from the line without stopping or even slowing down. So, the rolls containing defects no longer had to be taken off-line for editing. The cost savings realized by not having to edit all rolls with defects and to simply reject a single converted item are substantial in these cases.
Conclusion
The return on the sizable investments made on automatic-inspection systems can be significantly improved upon by closing the loop with automatic web-defect marking devices. Their cost usually represents a relatively small addition to an entire web-inspection solution yet yields a major increased value for the process overall.

Alfonse Novelli, president and founder of Novation, Inc. (Bethlehem, PA), studied engineering at the University of Connecticut and Fairleigh Dickenson University. His work experience includes controls engineer with Van Dam Machine Corp. and Fischer & Krecke, and vice president of Geometric Machine and Design. He can be reached at 610-837-5026, fax: 610-837-9938, email: anovelli@novation-inc.com, www.novation-inc.com.
More info: ISRA Vision at www.isravision.com

